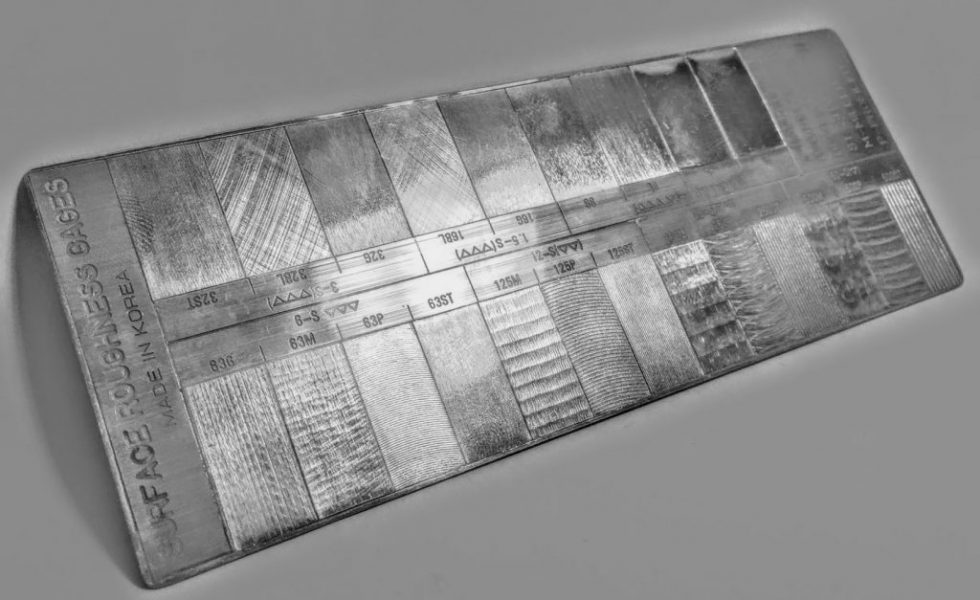
A surface finish comparator is a visual inspection tool used in manufacturing and quality control to assess and compare the surface texture or finish of a workpiece to a set of standard samples. This tool helps operators and inspectors determine the degree of smoothness or roughness of a surface, ensuring it meets specified requirements and quality standards.
The surface finish comparator typically consists of a flat, transparent plastic or glass plate with a series of standardized surface finish samples displayed on it. These samples represent various surface textures, ranging from very smooth to very rough. Each sample is labeled with a specific surface finish parameter, often in terms of roughness average (Ra), which is a common surface roughness measurement.

To use a surface finish comparator, an operator or inspector places the comparator against the surface of the workpiece being evaluated. By visually comparing the workpiece’s surface to the standard samples under controlled lighting conditions, they can determine which sample most closely matches the workpiece’s surface texture. This comparison provides a qualitative assessment of the surface finish, helping to identify whether it falls within the specified range.
Surface finish comparators are valuable tools for ensuring consistency and quality in manufacturing processes, particularly in industries where surface texture is critical, such as aerospace, automotive, and precision machining. They offer a quick and effective means of evaluating surface finish without the need for complex measurement equipment, making them a practical choice for quality control and inspection tasks.
