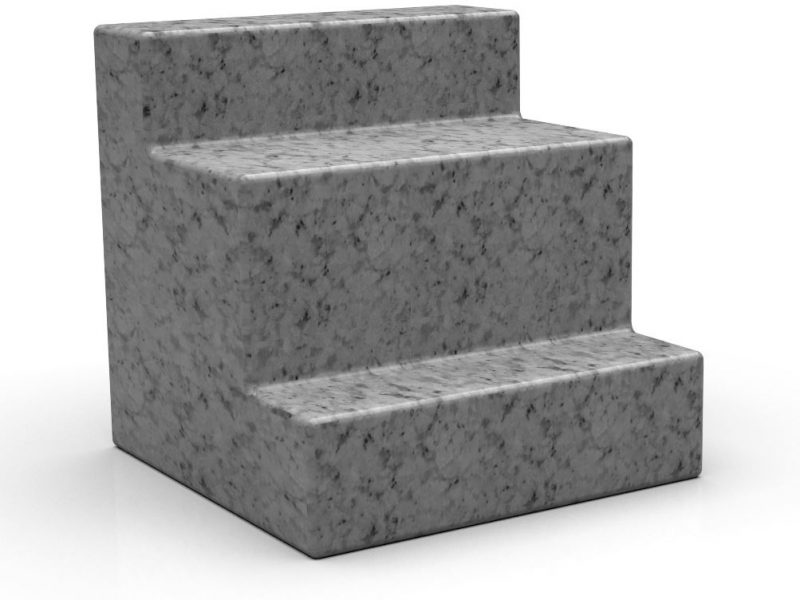
Granite Master Squares
A granite master square, also known as a granite square or inspection square, is a precision measuring instrument used to check the squareness (right-angle accuracy) of surfaces and workpieces. It consists of two perpendicular sides or edges that meet at a 90-degree angle. Granite master squares are made from high-quality granite that has been precisely machined, ground, and lapped to ensure accuracy and stability.
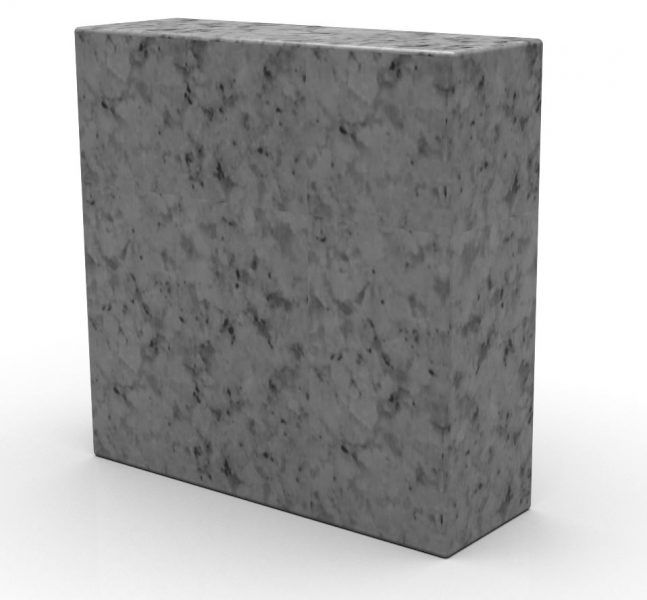
Granite Parallels
Granite parallels, also known as parallel bars or parallel strips, are precision tools used in various industries, particularly in machining and manufacturing. They consist of sets of flat, parallel strips made from high-quality granite. These strips are carefully machined and ground to strict tolerances, ensuring uniform thickness and parallelism. Granite parallels are used to support and elevate workpieces during machining operations, allowing for accurate measurements, alignment, and consistent machining results. They are essential for maintaining parallelism and ensuring precise dimensions when working with components that need to be held at a specific height or aligned in a parallel manner.
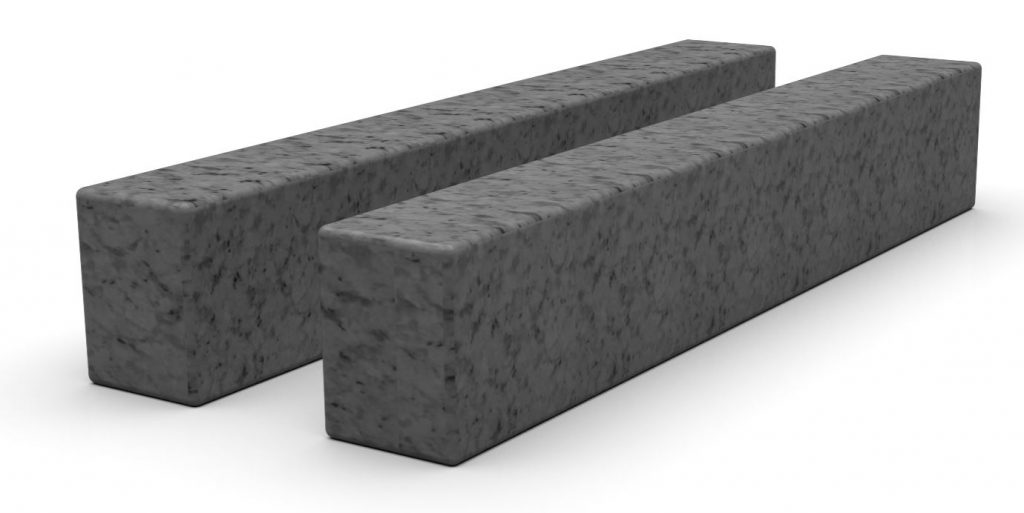
Granite Straight Edges
A granite straight edge is a precision measuring tool used to check the flatness and straightness of surfaces, edges, and workpieces. It is made from high-quality granite that has been carefully machined, ground, and polished to achieve a high degree of accuracy and surface finish. Granite straight edges have flat and parallel sides, and they come in various lengths and widths to accommodate different measurement needs. Granite straight edges are commonly used to evaluate flatness, straightness, and alignment.
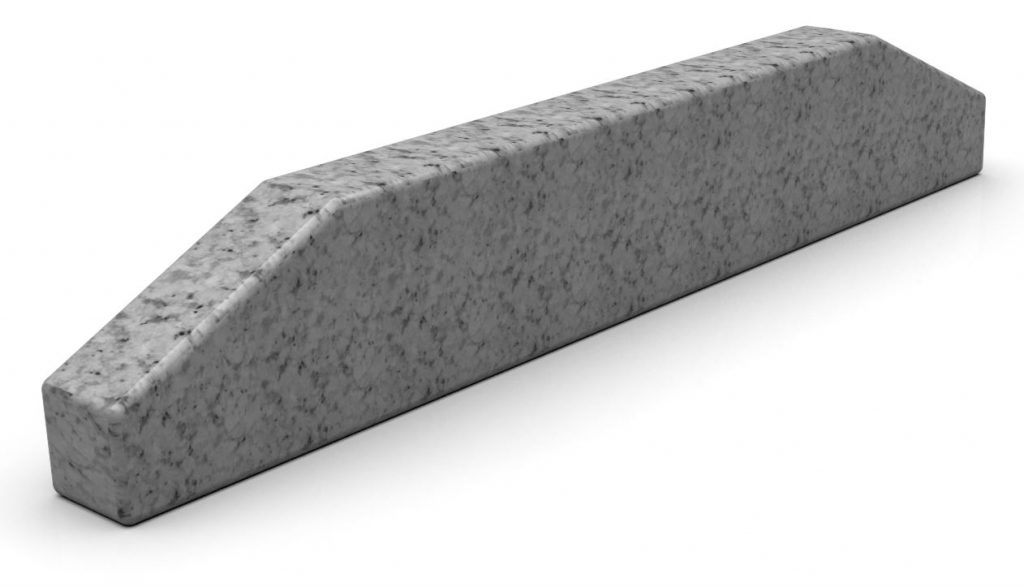
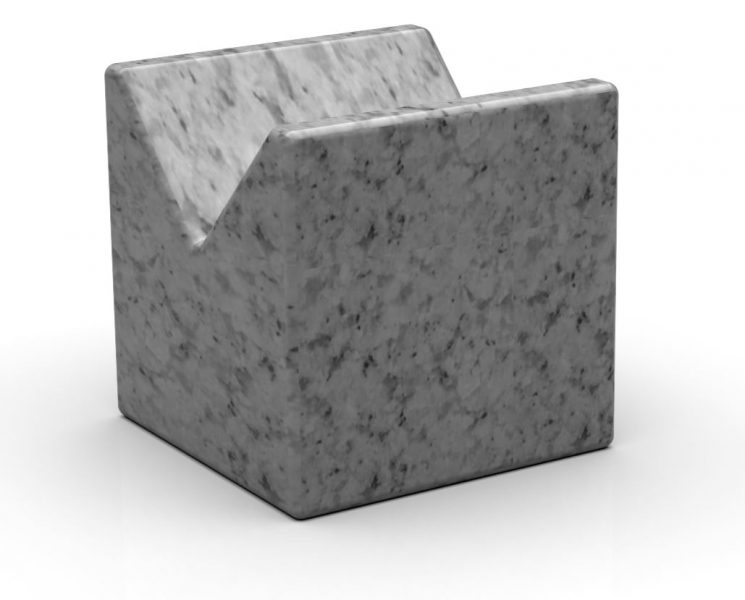
Granite V-Block
Granite V-blocks are precision tools designed to securely hold cylindrical or round workpieces in place for accurate measurement, inspection, and machining operations. These V-blocks are crafted from high-quality granite that is meticulously machined and polished to provide a stable and precise reference surface. The V-shaped grooves or channels in the blocks are designed to cradle the workpiece securely and align it with great precision. The flat and parallel sides of the V-blocks ensure that the workpiece remains steady and centered, enabling measurements of cylindrical features, such as diameter, concentricity, and taper. Granite V-blocks find applications in industries such as manufacturing, machining, and quality control, where maintaining precise orientation and measurements of cylindrical parts is essential.
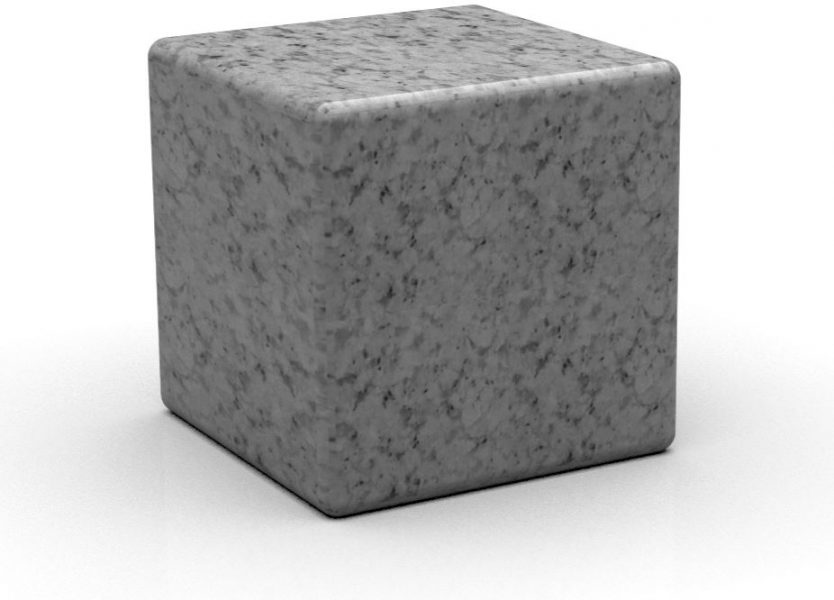
Granite Six-Face Cube
Granite six-face cubes, also known as cubic blocks or 6-face master cubes, are precision measuring tools constructed from high-quality granite with accurately machined surfaces. These cubes have all six faces precisely ground and polished to ensure flatness and parallelism. They serve as versatile references for measuring, inspecting, and calibrating various geometric features. Granite six-face cubes are commonly used in metrology labs, quality control processes, and precision manufacturing settings. Their stable and accurate surfaces provide a reliable foundation for verifying dimensional accuracy, right angles, parallelism, and perpendicularity. These cubes play a critical role in maintaining high levels of measurement accuracy and consistency across different applications in industries where precision is paramount.
Granite Angle Plate
Granite angle plates are precision tools used in various industries for accurately holding and measuring workpieces at specific angles. These angle plates are crafted from high-quality granite that is carefully machined and ground to ensure flatness, parallelism, and stability. The surfaces of the angle plates are often precision-ground at precise angles, such as 90 degrees or other specific angles. This allows them to serve as reliable references for aligning, measuring, and machining workpieces at desired angles. Granite angle plates find applications in machining, toolmaking, assembly, and quality control, where maintaining precise angular orientation is essential. They contribute to accurate alignment of components, precise machining operations, and quality assurance processes by providing a stable and dependable platform for various angular measurements and tasks.
