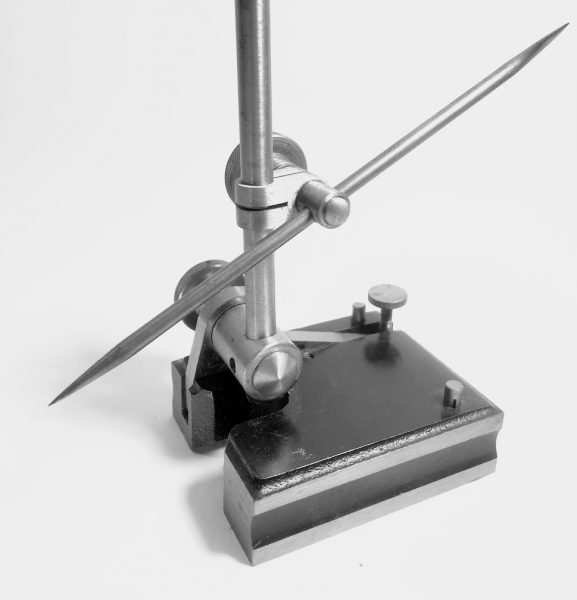
A surface gauge, also known as a scribing block, is a precision measuring tool commonly used in machining, metalworking, and quality control applications. It is primarily employed to measure and mark the vertical distance between a reference surface, such as a machine table or workpiece, and a point on the object being measured.
The typical design of a surface gauge consists of a vertical column or beam with a precision-ground base, which ensures stability and accuracy. The vertical column often has a fine adjustment mechanism that allows the user to set the desired height or position precisely. At the top of the column, there is a dial or indicator that displays height measurements in either inches or millimeters.

A key component of the surface gauge is the scriber, which is attached to the height-adjustable arm or spindle. The scriber is a fine-pointed tool used to mark the measurement point on the workpiece or to trace along a surface.
To use a surface gauge, you place the base of the gauge on a flat and stable surface, such as a machine table or workbench. The scriber is then adjusted to the desired height by raising or lowering the spindle using the fine adjustment mechanism. Once the desired height is set, the scriber is used to make precise marks or measurements on the workpiece’s surface or to check the height of various features.
Surface gauges are invaluable tools for ensuring accurate measurements and marking reference points during machining operations, inspection processes, and layout work. They are known for their precision and versatility in a wide range of industrial and manufacturing applications, making them essential tools in quality control and precision engineering.
